


|
|
|
|
|
Home
Process Trend
|
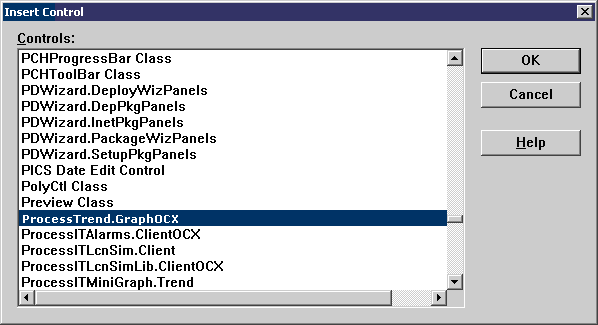
Process Trend ActiveX ControlInstallation on a GUSThe installation of the Process Trend OCX on a GUS is basically identical to the general installation, except that two additional license files are required. IMPORTANT The Flipper Graph OCX is a licensed control, which means that it is necessary to have a licensed version of it when using the OCX in a design environment, such as a VB form. When using the control in run mode, for example embedded in a Windows application or used in Internet Explorer, then the control functions normally. In other words, no license file is required for run mode. Unfortunately, in the case of the GUS, it appears that it requires a licensed version of the control even when the control is being used in run mode, in other words, in a running GUS graphic. This may be due to the way that the GUS displays are built, as they are script based. In any event, the GUS behaviour is non-standard. The workaround is to make sure that there is a licensed version of the Flipper OCX on the GUS before attempting to use the Process Trend OCX in a GUS graphic. Therefore, please do not attempt to use the Process Trend OCX in a GUS graphic before obtaining a copy of the Flipper OCX. A trial copy of the Flipper OCX can be downloaded from the Proworks web site. The additional steps required for installation on a GUS is described in the installation guide (provided when purchasing the Process Trend OCX). Procedure
|
|
|
|